simoniz pressure washer repair manual
Simoniz Pressure Washer Repair Manual: A Comprehensive Guide
This detailed manual expertly guides users through Simoniz pressure washer maintenance, offering crucial parts diagrams and repair solutions for optimal performance and longevity.
Understanding Your Simoniz Pressure Washer
Simoniz pressure washers are popular for their efficiency and versatility in various cleaning tasks, from vehicle washing to deck restoration. Before attempting any repair, familiarize yourself with the core components and operational principles of your specific model.
Understanding the interplay between the motor, pump, hose, and nozzle is crucial. The motor provides the power, the pump generates pressure, the hose delivers water, and the nozzle controls the spray pattern.
Knowing the pressure rating (measured in PSI – pounds per square inch) and flow rate (measured in GPM – gallons per minute) of your washer is essential for selecting appropriate nozzles and detergents. Refer to your owner’s manual for these specifications.
Furthermore, recognizing the quick connect fittings, like the M22-15mm type, and their function in securely attaching the hose to the pump will aid in troubleshooting leaks and performing replacements.
Identifying Common Problems
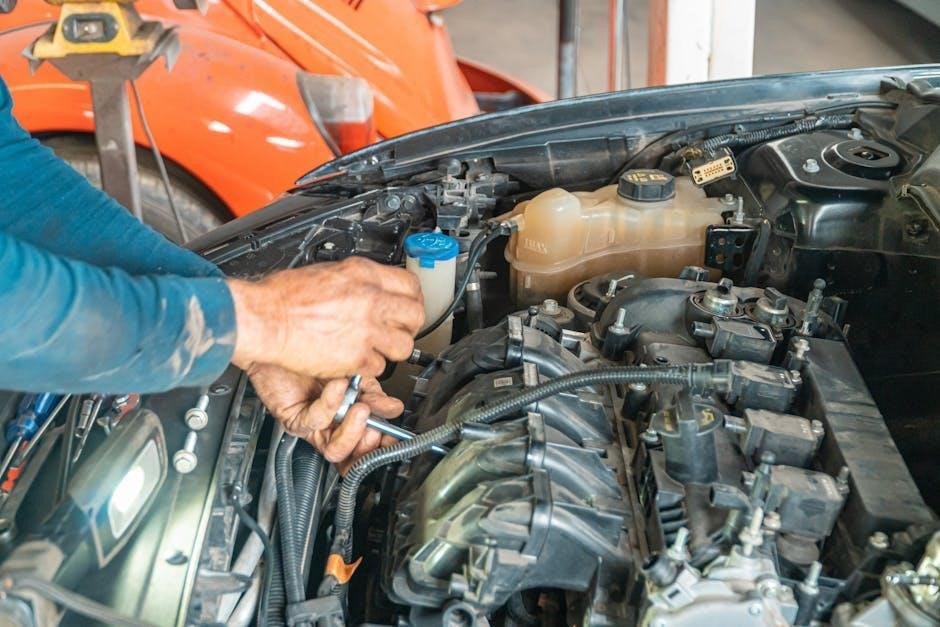
Simoniz pressure washers, while robust, can experience several recurring issues. Loss of pressure is a frequent complaint, often stemming from pump problems like worn seals or blockages in the nozzle. Leaks, particularly around quick connectors (such as M22-15mm fittings) and hose connections, are also common.
Motor-related issues include failure to start, overheating (potentially triggering a thermal overload), or worn carbon brushes. Nozzle problems manifest as inconsistent spray patterns or complete blockage. A malfunctioning trigger gun can prevent water flow or cause erratic operation.
Regular inspection of the high-pressure hose for cracks or damage is vital. Identifying these problems early can prevent more extensive and costly repairs. Remember to always prioritize safety and disconnect the power source before any inspection or repair attempt.
Safety Precautions Before Repair
Prioritizing safety is paramount when repairing your Simoniz pressure washer. Always disconnect the power supply – unplug the unit or remove the battery – before commencing any work. Relieve water pressure by disconnecting the water inlet hose and triggering the gun until no water remains.
Wear appropriate personal protective equipment (PPE), including safety glasses to protect your eyes and gloves to shield your hands. Avoid working on a wet surface to prevent electrical shock. Never attempt repairs if you are unsure or uncomfortable with the process; consult a qualified technician.
Be mindful of high-pressure components; even after pressure relief, residual pressure may exist. Ensure the work area is well-ventilated, especially when dealing with fuel or solvents. Proper safety practices prevent injury and ensure a successful repair.
Disassembly & Component Overview
Careful disassembly, guided by diagrams, reveals the Simoniz pressure washer’s core components, enabling targeted repairs and a thorough understanding of its internal workings.
Locating the Repair Manual & Parts Diagrams
Accessing the correct repair manual and detailed parts diagrams is the crucial first step in any Simoniz pressure washer repair endeavor. Often, the original manual accompanied your unit upon purchase; however, if misplaced, numerous online resources exist. Simoniz’s official website frequently hosts downloadable manuals for various models. Alternatively, searching online using your specific model number (typically found on a label affixed to the unit) will yield results from both Simoniz and third-party retailers offering digital copies.
Parts diagrams are equally vital. These visual guides illustrate the precise arrangement of components, aiding in identification during disassembly and ensuring correct reassembly. Websites specializing in pressure washer parts, like those selling M22-15mm quick connect adapters, often provide exploded views and parts lists. Remember to verify the diagram corresponds to your exact Simoniz model to avoid compatibility issues and ensure a successful repair.
Identifying Key Components: Pump, Motor, Hose
Understanding the core components of your Simoniz pressure washer is fundamental for effective troubleshooting and repair. The pump is the heart of the system, responsible for generating high-pressure water flow; inspect for leaks or unusual noises. The motor provides the power to drive the pump – listen for humming or a lack of operation, and check for thermal overload issues. The high-pressure hose, often utilizing M22-15mm quick connectors, delivers water to the nozzle; examine it carefully for cracks, kinks, or leaks.
Proper identification is key. Familiarize yourself with the location of each component within your specific Simoniz model. Recognizing these parts, and how they interact, will streamline the repair process, especially when referencing parts diagrams or seeking assistance. Knowing the function of each element allows for targeted diagnostics and efficient solutions.
Tools Required for Simoniz Pressure Washer Repair
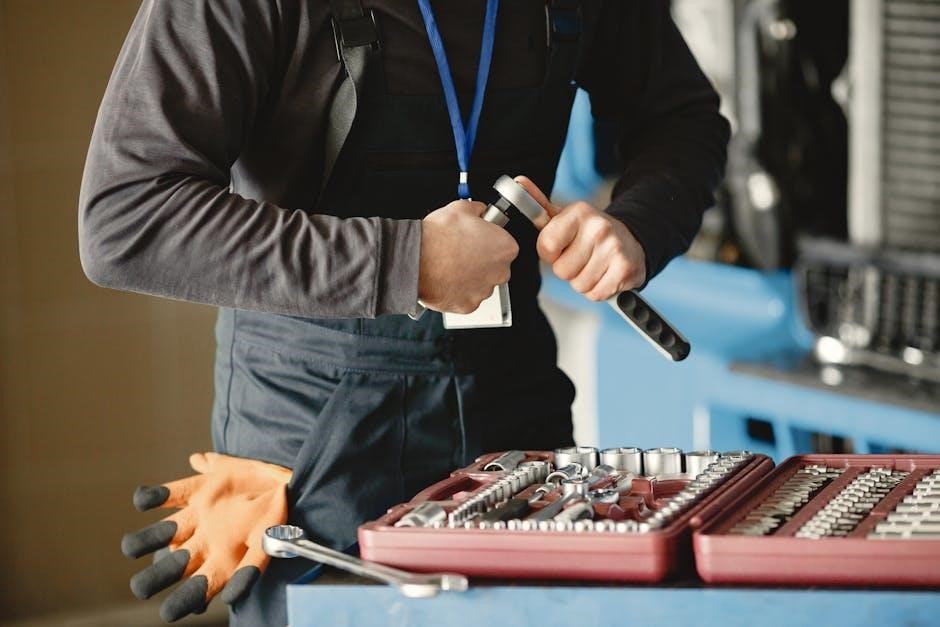
Successfully repairing your Simoniz pressure washer demands a specific toolkit. Essential items include a set of open-end wrenches and sockets for disassembling components, particularly when dealing with quick connectors like M22-15mm fittings. A screwdriver set (Phillips and flathead) is crucial for accessing internal parts. Pliers, including needle-nose, aid in gripping and manipulating small components.
Specialized tools enhance the process; A pressure tester helps identify leaks in the pump, hose, or connections. O-ring picks are invaluable for removing and installing seals. Thread sealant ensures watertight connections when reassembling. Always prioritize safety with safety glasses and gloves. Having these tools readily available will significantly simplify your repair efforts and ensure a professional outcome.
Pump Repair & Troubleshooting
Addressing pump issues is vital for restoring pressure; this section details disassembly, inspection, seal replacement, and solutions for low-pressure scenarios.
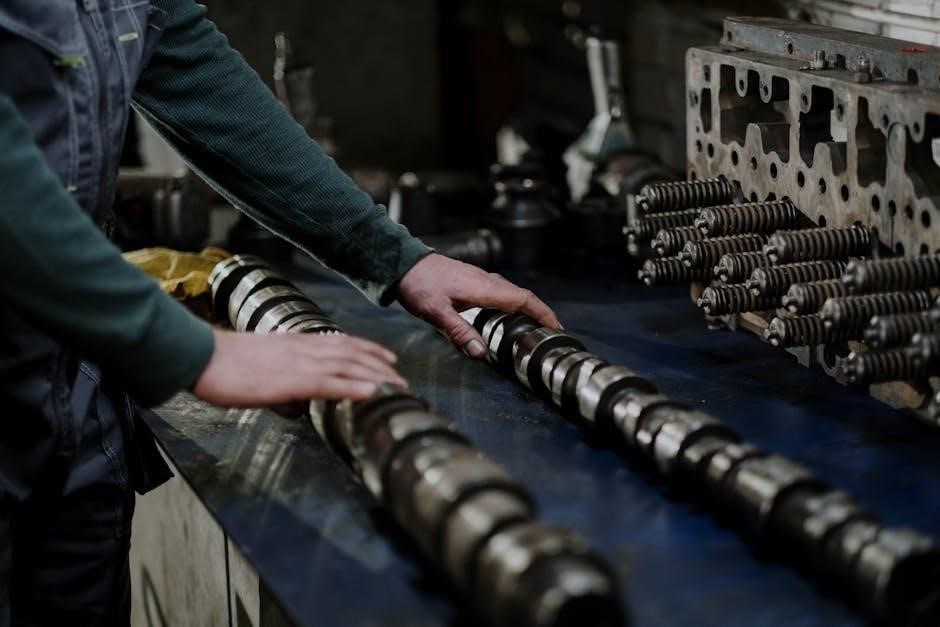
Pump Disassembly and Inspection
Before commencing pump disassembly, ensure the pressure washer is completely disconnected from all power and water sources. Begin by carefully removing the pump housing, noting the position of all screws and components for reassembly. Once the housing is off, inspect the internal parts for visible signs of wear, corrosion, or damage.
Pay close attention to the piston, connecting rod, and cylinder. Look for scoring, cracks, or deformation. Examine the pump seals and O-rings for brittleness, tears, or flattening. A thorough visual inspection will often pinpoint the source of pressure loss or operational issues.
Document the disassembly process with photos to aid in reassembly. Carefully clean all components with a suitable solvent to remove any debris or buildup. A detailed inspection at this stage prevents overlooking critical issues and ensures a successful repair.
Replacing Pump Seals and O-Rings
Properly replacing pump seals and O-rings is crucial for restoring pressure and preventing leaks. Before installation, ensure all surfaces are clean and free of debris. Lightly lubricate the new seals and O-rings with silicone grease – avoid petroleum-based products, as they can cause deterioration.
Carefully install the new seals into their designated grooves, ensuring they are seated correctly and not twisted or pinched. When replacing O-rings, use a pick or small screwdriver to gently work them into place. Double-check the orientation of the seals to match the original configuration.
Tighten all pump housing screws to the manufacturer’s specified torque. After reassembly, perform a leak test to verify the seals are functioning correctly and maintaining pressure. Replacing worn seals is often a simple fix for common pump issues.
Addressing Low Pressure Issues in the Pump
Low pressure often stems from pump-related problems, requiring systematic troubleshooting. First, verify the water supply is adequate and free of obstructions. Inspect the inlet screen for clogging, as restricted water flow significantly reduces pressure. Next, examine the pump seals and O-rings for wear or damage – leaks compromise pressure.
A partially clogged nozzle can also mimic low pressure; thoroughly clean or replace the nozzle. If the issue persists, disassemble the pump to inspect the piston and cylinder for scoring or corrosion. Worn components necessitate replacement.
Ensure proper valve operation within the pump. Finally, check the unloader valve, which regulates pressure; a malfunctioning unloader can cause inconsistent or low output.

Motor Repair & Troubleshooting
Diagnosing motor issues involves careful inspection and testing, focusing on electrical components and mechanical integrity for reliable operation and longevity.
Motor Inspection and Testing
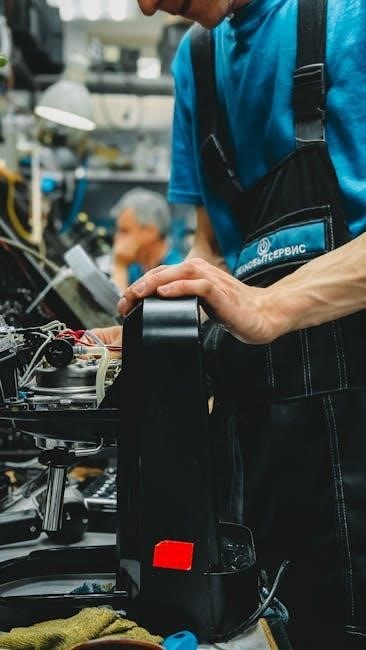
Begin the motor inspection by visually examining the exterior for any signs of physical damage, such as cracks in the housing or frayed wiring. Disconnect the power supply before proceeding! Carefully check the wiring connections, ensuring they are secure and free from corrosion. Use a multimeter to test the motor’s windings for continuity – a lack of continuity indicates a broken winding, requiring motor replacement.
Next, assess the carbon brushes (if applicable) for wear. Severely worn brushes will cause intermittent operation or complete motor failure. Test the motor’s thermal overload protector; a tripped protector suggests overheating issues. If the motor hums but doesn’t start, check the capacitor – a faulty capacitor is a common cause.
Always refer to the Simoniz pressure washer’s wiring diagram during testing. Proper testing requires understanding electrical safety procedures and using appropriate testing equipment.
Carbon Brush Replacement
Replacing worn carbon brushes is a frequent maintenance task for Simoniz pressure washer motors. First, disconnect the power supply and access the brush compartment, typically located on the motor housing. Carefully remove the old brushes, noting their orientation for correct reinstallation. Inspect the brush holders for wear or damage, replacing them if necessary.
Before inserting the new brushes, lightly coat them with conductive grease to improve contact and reduce sparking. Ensure the brushes move freely within their holders and make good contact with the commutator. Reassemble the brush compartment, securing it tightly.
After replacement, test the motor to confirm proper operation. Incorrect brush installation can cause motor damage, so double-check your work. Regularly inspecting and replacing brushes extends motor life and maintains optimal performance.
Thermal Overload Reset & Troubleshooting
Simoniz pressure washers feature a thermal overload protection system to prevent motor damage from overheating. If the motor stops unexpectedly, the thermal overload switch may have tripped. Allow the motor to cool completely – typically 30-60 minutes – before attempting a reset.

Locate the reset button, usually a small, red button on the motor housing. Press the button firmly to restore power. If the motor continues to trip the overload, investigate the cause of overheating. This could be a restricted water supply, a clogged nozzle, or excessive use.
Ensure adequate ventilation around the motor. Persistent tripping indicates a more serious issue, potentially requiring motor repair or replacement. Always disconnect the power before inspecting or resetting the thermal overload.
Hose, Nozzle & Trigger Gun Repair
Effectively address common issues with your Simoniz pressure washer’s hose, nozzles, and trigger gun, restoring optimal cleaning power and preventing frustrating leaks.
Hose Leak Detection and Repair
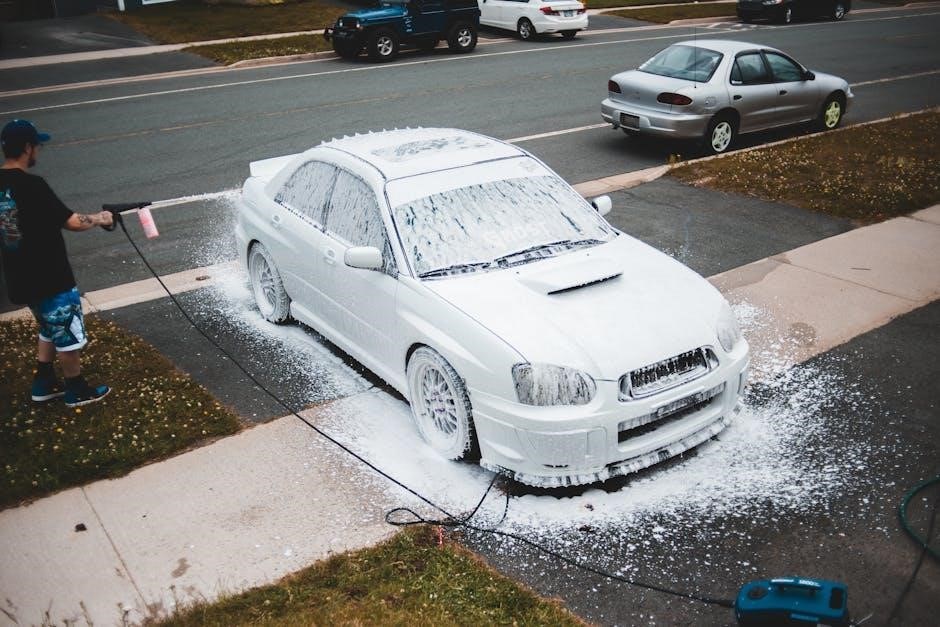
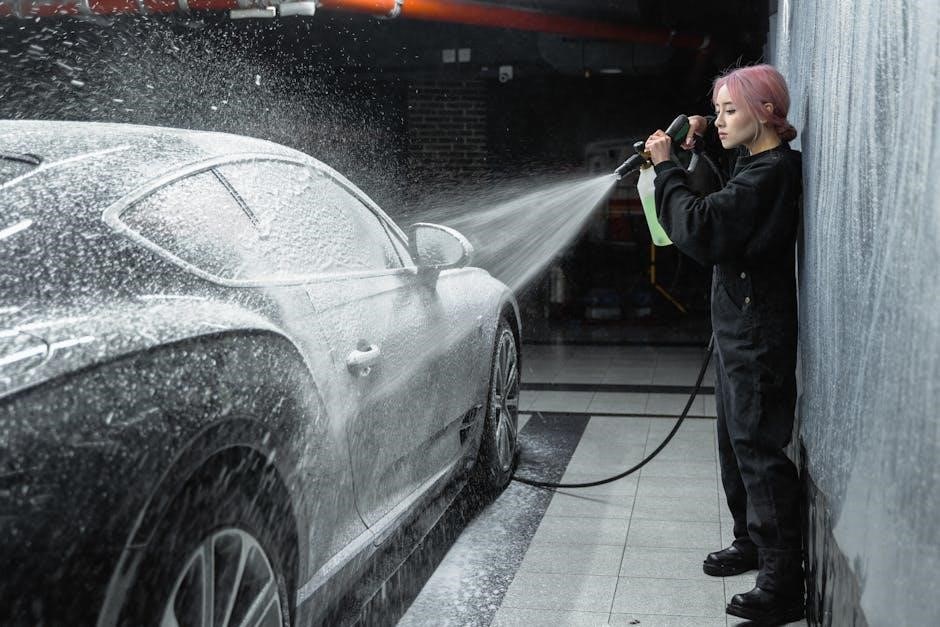
Identifying hose leaks is crucial for maintaining pressure and preventing water wastage. Begin by visually inspecting the entire hose length for bulges, cracks, or abrasions, paying close attention to connection points. Run the pressure washer briefly and observe for spray patterns indicating leaks – even small drips can signify a problem.
For minor leaks at fittings, ensure the connection is tight. If the leak persists, try replacing the O-ring or sealing washer within the fitting. Significant hose damage usually necessitates replacement. When replacing, ensure the new hose is rated for the pressure washer’s PSI and features compatible quick-connect fittings.
Always disconnect the power source before attempting any hose repair. Consider using Teflon tape on threaded connections to create a tighter seal. Regularly inspect your hose and fittings to proactively prevent larger issues and maintain optimal performance of your Simoniz pressure washer.
Nozzle Cleaning and Replacement
Clogged nozzles are a frequent cause of reduced pressure and uneven spray patterns. Begin by disconnecting the nozzle from the trigger gun, ensuring the power is off. Inspect the nozzle orifice for debris like dirt, mineral deposits, or paint particles.
To clean, use a small wire or nozzle cleaning tool to carefully dislodge obstructions – avoid enlarging the orifice. For stubborn clogs, soak the nozzle in vinegar or a descaling solution. If the nozzle remains clogged or is damaged, replacement is necessary.
When selecting a replacement nozzle, verify it matches the original’s spray angle and GPM rating. Incorrect nozzles can strain the pump. Regularly cleaning and replacing nozzles ensures optimal cleaning performance and extends the life of your Simoniz pressure washer.
Trigger Gun Repair: Common Issues & Solutions
The trigger gun is susceptible to wear and tear, often manifesting as leaks or failure to engage. A common issue is a worn trigger seal, causing pressure loss when the trigger is squeezed. Replacing this seal, usually a simple O-ring, often resolves the problem.
Another frequent concern is a jammed trigger mechanism due to dirt or corrosion. Disassemble the gun carefully, clean all parts with a solvent, and lubricate before reassembly; Inspect the high-pressure hose connection for cracks or looseness, as this can cause leaks.
If the trigger still malfunctions, the entire gun assembly may need replacement. Always ensure the pressure washer is disconnected from the power source before attempting any repairs to the trigger gun.
Quick Connectors & Fittings
Essential for rapid hose attachment, quick connectors like M22-15mm require inspection for wear and proper sealing to prevent frustrating pressure losses.
M22-15mm Quick Connectors: Repair & Replacement
M22-15mm quick connectors are vital for swiftly attaching high-pressure hoses to your Simoniz pressure washer’s pump. Identifying leaks at these connections is often straightforward – look for visible water spray or reduced pressure. Before attempting repair, always disconnect the power source and relieve pressure. A common issue is debris lodged within the connector; carefully disassemble and flush with clean water.
If the connector is damaged, replacement is often the most practical solution. Ensure the new connector is specifically rated for 5000 PSI, matching the pressure capacity of many Simoniz models. When installing, apply a small amount of Teflon tape to the threads for a secure, leak-proof seal. Tighten firmly, but avoid over-tightening, which can strip the threads. Regularly inspect these connectors for corrosion or cracks, proactively replacing them to prevent unexpected failures during operation.
High-Pressure Hose Fitting Replacement
Replacing high-pressure hose fittings on your Simoniz pressure washer demands precision and adherence to safety protocols. Begin by completely depressurizing the system and disconnecting the power supply. Carefully inspect the hose for bulges, cracks, or abrasions – any damage necessitates hose replacement, not just fitting repair. When removing old fittings, use two wrenches: one to hold the hose barb and another to loosen the fitting, preventing hose twisting.
New fittings must match the hose’s inner diameter and pressure rating (typically 5000 PSI for Simoniz models). Apply hose clamp securely, ensuring it’s positioned correctly over the barb. Before tightening, verify the hose is fully seated onto the fitting. Regularly check fittings for leaks and corrosion; proactive replacement minimizes the risk of catastrophic failure during operation, safeguarding both the user and the equipment.
Troubleshooting Connector Leaks
Connector leaks in your Simoniz pressure washer significantly reduce efficiency and can pose safety hazards. Initial troubleshooting involves visually inspecting the quick connect fittings (often M22-15mm) for cracks or damage. Ensure the connector is fully engaged – a ‘click’ usually indicates proper locking. If leaking persists, try cleaning the connector surfaces with a soft cloth to remove debris.
Inspect the O-rings within the connectors; these often degrade over time and require replacement. Tighten the retaining nut (if applicable) cautiously, avoiding over-tightening which can damage the connector. For stubborn leaks, consider applying PTFE thread sealant to the male threads. Always depressurize the system before attempting any repairs. Recurring leaks suggest fitting replacement is necessary to maintain optimal performance and prevent water wastage.